Task Notes and Attachments
Every task in GlidePath has a Notes field and can have documents attached. Notes capture context, decisions, and status updates. Document attachments link files directly to the work they describe.Feature Spec Reference
Module 2.6 — Task Fields (Notes)Module 12 — Document Ingestion
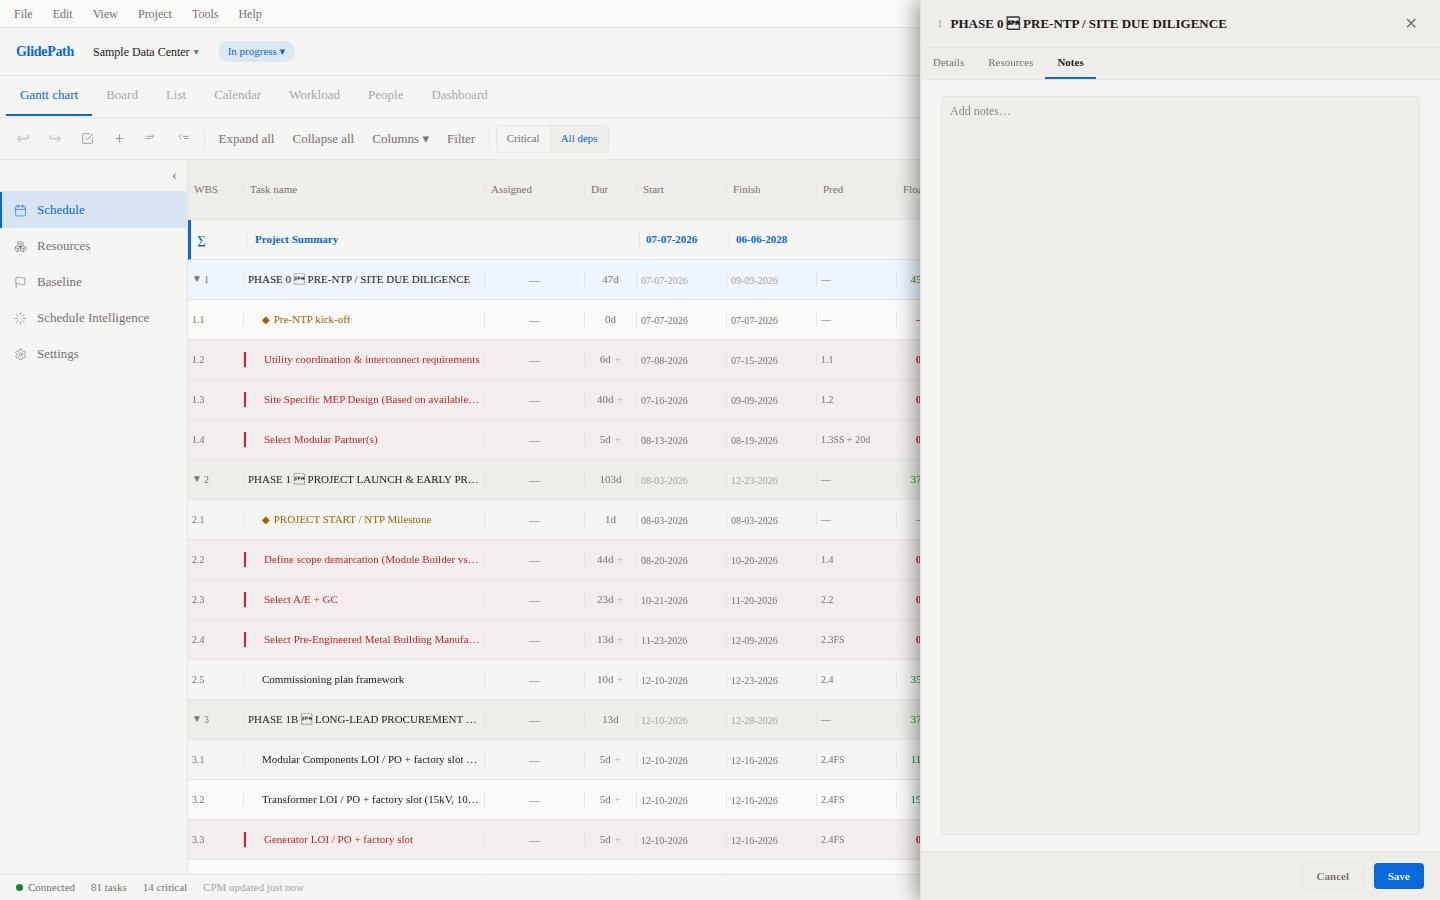
Adding Notes to a Task
- Double-click the task row to open the Task Detail Panel
- Click the Notes tab
- Type or paste your notes in the text area
- Notes auto-save as you type — no separate Save button required for notes
What to Put in Notes
Notes are free-form text. Common uses:- Status updates: “Excavation paused 2026-09-15 due to rain. Resuming Monday.”
- Decisions: “Crew size increased from 4 to 6 per PM directive on 2026-09-10.”
- Blockers: “Waiting on permit approval from county — expected 2026-09-20.”
- Handoff context: “Subcontractor contact: J. Smith 555-0100.”
Attaching Documents
Supported File Types
GlidePath accepts attachments including:- PDF documents (drawings, specifications, submittals)
- Word documents (.docx)
- Excel spreadsheets (.xlsx)
- Images (JPG, PNG)
- Generic files (ZIP, CSV, etc.)
Attaching a File
- Open the Task Detail Panel
- Click the Notes tab
- In the Documents section below the notes text area, click + Add Document
- Select a file from your computer
- The file uploads and appears in the document list with its name and size
Document List
Each attached document shows:- File name and type icon
- Size in KB or MB
- Uploaded by and date
- Download link to retrieve the file
- Delete icon to remove the attachment
Document Ingestion
GlidePath includes a document ingestion feature (Module 12) that goes beyond simple file attachment. It parses uploaded documents and attempts to extract schedule-relevant information.What Ingestion Does
When you upload certain document types (primarily PDF specs and Excel submittals), GlidePath can:- Extract dates mentioned in the document (delivery dates, inspection dates, milestone dates)
- Identify risks described in the text
- Suggest task updates based on document content
- Link the document to specific tasks mentioned by name or activity ID
Using Document Ingestion
- Open the Documents panel in the right sidebar (click the document icon)
- Click Upload Document or drag a file into the panel
- GlidePath processes the document in the background
- After processing, a results panel shows:
- Extracted dates and suggested task links
- Identified risks recommended for the Risk Register
- Any data that could not be parsed
- Review and accept or dismiss each suggestion
Ingestion and Individual Task Attachments
Documents uploaded through the Documents panel are project-level. You can link them to specific tasks from the ingestion results view. Documents uploaded directly in the task’s Notes tab are task-level and are not run through the ingestion workflow.Screenshot