Create Your First Project
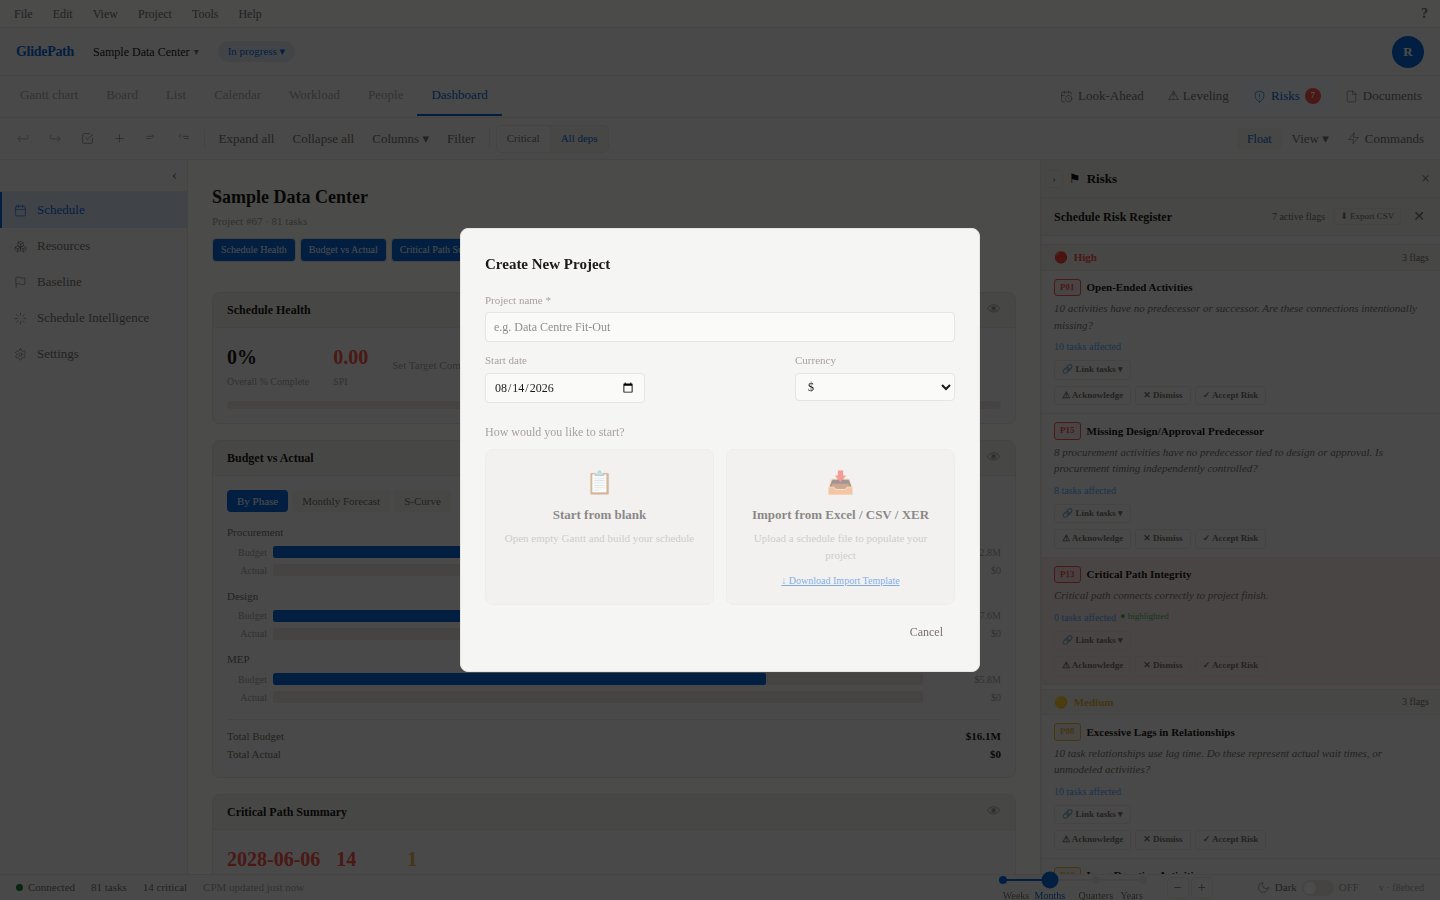
This guide walks you through creating a new project in GlidePath. The Create Project dialog captures all essential information to set up your schedule framework.Feature Spec Reference
Module 1.1 — Create New ProjectStep 1: Open the Create Project Dialog
From the GlidePath home or project list screen, click the “New Project” or ”+” button to open the Create Project modal.Step 2: Fill in Project Details
The Create Project dialog requires seven fields:Name (Required)
- Enter your project name (1–200 characters)
- Must be unique within your account
- Examples: “Data Center Migration 2026”, “Downtown Office Renovation”
- This field is focused by default; start typing to fill it
Type (Required)
- Select the project type from the dropdown:
- Construction — Building and civil works
- Data Center — Server facility and infrastructure buildout
- Industrial — Manufacturing and plant expansion
- Commercial — Tenant fit-out and commercial renovation
- Other — General projects
- Project type impacts Schedule Intelligence pattern recommendations (Module 11)
Start Date (Required)
- Click the date picker to select your project start date
- Defaults to today’s date
- This is the earliest date in your project timeline
Target Completion (Required)
- Click the date picker to select your target project finish date
- Must be after the Start Date — the dialog validates this and shows an error if dates are reversed
- This date anchors your Schedule Performance Index (SPI) and “days ahead/behind” metrics in the dashboard
Currency (Optional, defaults to USD)
- Select from: USD, EUR, GBP, CAD, AUD, SGD, JPY
- Used for financial reporting and earned value calculations (Module 8)
Work Week (Required, minimum 1 day)
- Check the boxes for days your team works (Monday through Sunday)
- Default: Monday–Friday checked
- You must select at least one working day
- Resource calendars and CPM calculations use this setting (Module 5)
Hours Per Day (Required, defaults to 8)
- Enter the number of working hours per day (1–24 range)
- Default: 8 hours
- Used to convert between task duration (days) and resource work (hours)
Step 3: Validation and Create
- Create Button is disabled until Name and Start Date are filled
- If Target Completion is before Start Date, an error message appears: “Target completion must be after start date”
- If Work Week has zero days selected, an error message appears: “Select at least one working day”
- When all required fields are valid, click Create to save the project
Step 4: Navigate to Your New Project
After creating the project, GlidePath opens the Gantt Chart view for your new project with an empty state message: “Add your first task to begin your schedule.”Create Project Dialog (Screenshot)
Next Steps
Once your project is created, you’re ready to:- Navigate the Interface — Explore all the views and controls
- Create Tasks — Add your first tasks to the schedule
- Organize with WBS — Build a proper work breakdown structure
Common Validation Errors
Tip: You can edit all these settings later in Project Settings (Module 1.6). Don’t worry about getting everything perfect on day one.